Showing posts with label DIY. Show all posts

Monday, 15 September 2014

Dining Room Table Makeover

This is one of those projects that should only take 3 days, but ends up taking 3 weeks. I had to completely re-do and start from scratch THREE times. I came close to tears a few times. But just grit my teeth and told myself "I have not failed. I've just found 10,000 ways that won't work." (Thomas Edison). If anything I learned a LOT about refinishing wood and I know how to use so many products now.

BEFORE
AFTER

BEFORE
AFTER
The pictures really don't do it justice. We have such terrible lighting in our basement suite. The chairs are actually and heirloom white color (look way more starch white in the pictures) 

Here are a few pieces of advice I had to learn the hard way....

1. Don't just read the instructions on the product. I had to completely strip my table after round #1 because I didn't apply the product correctly. I found some awesome youtube videos that SHOW you how to use products. Minwax has some awesome tutorials that explain how their water-based and oil-based products are different and which are appropriate for your product.

stripping and sanding the table AGAIN

2. TEST YOUR PRODUCT. I saw this one all over the web, on blogs, on tutorials, on youtube videos... And I thought BLAH BLAH BLAH. I picked out an extremely dark stain for my table but it didn't stain nearly as dark as I wanted. So instead of testing on a little piece of wood or part of the table I stained the entire table and leaf before I realized it wasn't going to be dark enough.... On to round #3....

not dark enough!! Ugh!

stripped and sanded again.... my poor neighborhood had to suffer through SO much sanding.

testing the stain this time.. I had to basically use a black stain to get the dark brown color I wanted

testing on the leaf first

3. WITH THE GRAIN PEOPLE. I finally got a beautiful dark rich color stain. It was perfect. I was laughing!! Only took 3 tries! Wrong. I applied the Minwax Wipe-on poly. A lot of tutorials mentioned the "hand rubbed" look. So I rubbed it in nice and good, let it dry. Well... I didn't wipe with the grain at the end. I left the poly to dry in the swirled pattern. After about 8 very thin coats some areas of the table were milky and the finish was uneven now. This was the closest I came to crying. Seriously?! I had to screw up the LAST step? UGH!!!!!!! So I sanded off some of the finish and wiped on a Minwax polyshade which is a 2 in 1 stain/polyurethane. Bada boom bada bing.


Good to know...
Pre-stain Wood Conditioner - It helps the stain absorb more evenly on softer woods. Use an extra coat or 2 of pre-stain wood conditioner on the edges of your table. The edges naturally will stain darker than the top of your table. I didn't end up doing this but I wish I would have! BEWARE, if you use a wood conditioner the color will end up lighter. I didn't end up using a wood conditioner on round #3 of my oak table, its not as soft as other woods and I wanted a dark color.

Stain - never shake your can of stain to mix it up. Use a paint stick and stir it so the particles that settle on the bottom of the can get mixed back into the stain. If your staining is taking a long time make sure to stir your stain every 5-10 minutes

Water-based vs Oil-based (http://www.homedepot.com/c/Stains)

Stain BaseMajor Advantages
Oil-based(alkyd)
  • Better penetration
  • Excellent durability
  • Longer drying time allows more time to achieve an even finish
  • Special deck stains deliver maximum durability for harsh conditions
Water-based(latex; acrylic)
  • Better color retention
  • Less odor
  • Breathable
  • Nonflammable
  • Soap and water cleanup
  • Quicker drying

Polyurethane - apparently there are different sheens.Gloss, Semi-gloss, Satin. If you want your table super shiney do a gloss finish. If you want more of a matte look use a satin. If you want something in between use the semi-gloss. Make sure you buy the right one!

Wipe-on poly - It isn't streaky like some lacquer or polyurethane. 2-3 thin coats = 1 coat of polyurethane. Just remember to wipe WITH the grain. It was awesome to use on the dining room chairs, its so thin that you can get in all those little nooks and crannies. I also liked the wipe-on poly because it didn't make my table look like it had a plastic finish on top, it still had the beautiful wood look. 


Saturday, 2 August 2014

my DIY hacks

Pinterest. It took me a while to really figure out how it works. You see, I kept pinning pins solely from Pinterest, and I kept wondering what the point was because I had all the same ideas/pins as my friends. So instead I started visiting blogs, peoples webpages, taking pictures of things I see in stores and putting them on my Pinterest so I can remember them. There are so many amazing ideas and creations out there in the internet world that aren't on Pinterest. Go find them!! Then pin them to your boards so you can remember them later. One day I actually went through all my pinterest boards and de-junked all the useless pins I know I will never use. Some of them seemed like such a great idea at the time....Here are a few of my pins I actually put to use.

Etsy:

Mine:
cost
barn board: free
can of spray paint: $8.00 (used maybe 1/4 of can)


WINNERS
$7.99
snapped a pic and uploaded to Pinterest. I just KNEW I had to make this

MINE
cost
jar: $1.00 at dollar store
vinyl lettering: free (thanks mom!)
I keep my gift cards in it :)

PINTEREST:

MINE:
When I re-did my bathroom I had to take down my cute his/hers shower hooks Bryanna Peterson gave me for my wedding. It was a sad day. I knew I needed to use them somehow. They are too cute to not be hanging somewhere! I bought these 3 cute flower drawer knobs at Tai Pan Trading in the states. I think they were $3.00 each.

We desperately needed somewhere to hang our coats, hoodies, purses etc. So voila! Way cuter in person


BLOG:

MINE:
you might remember my tutorial from a few months ago

PINTEREST:

MINE:
cost
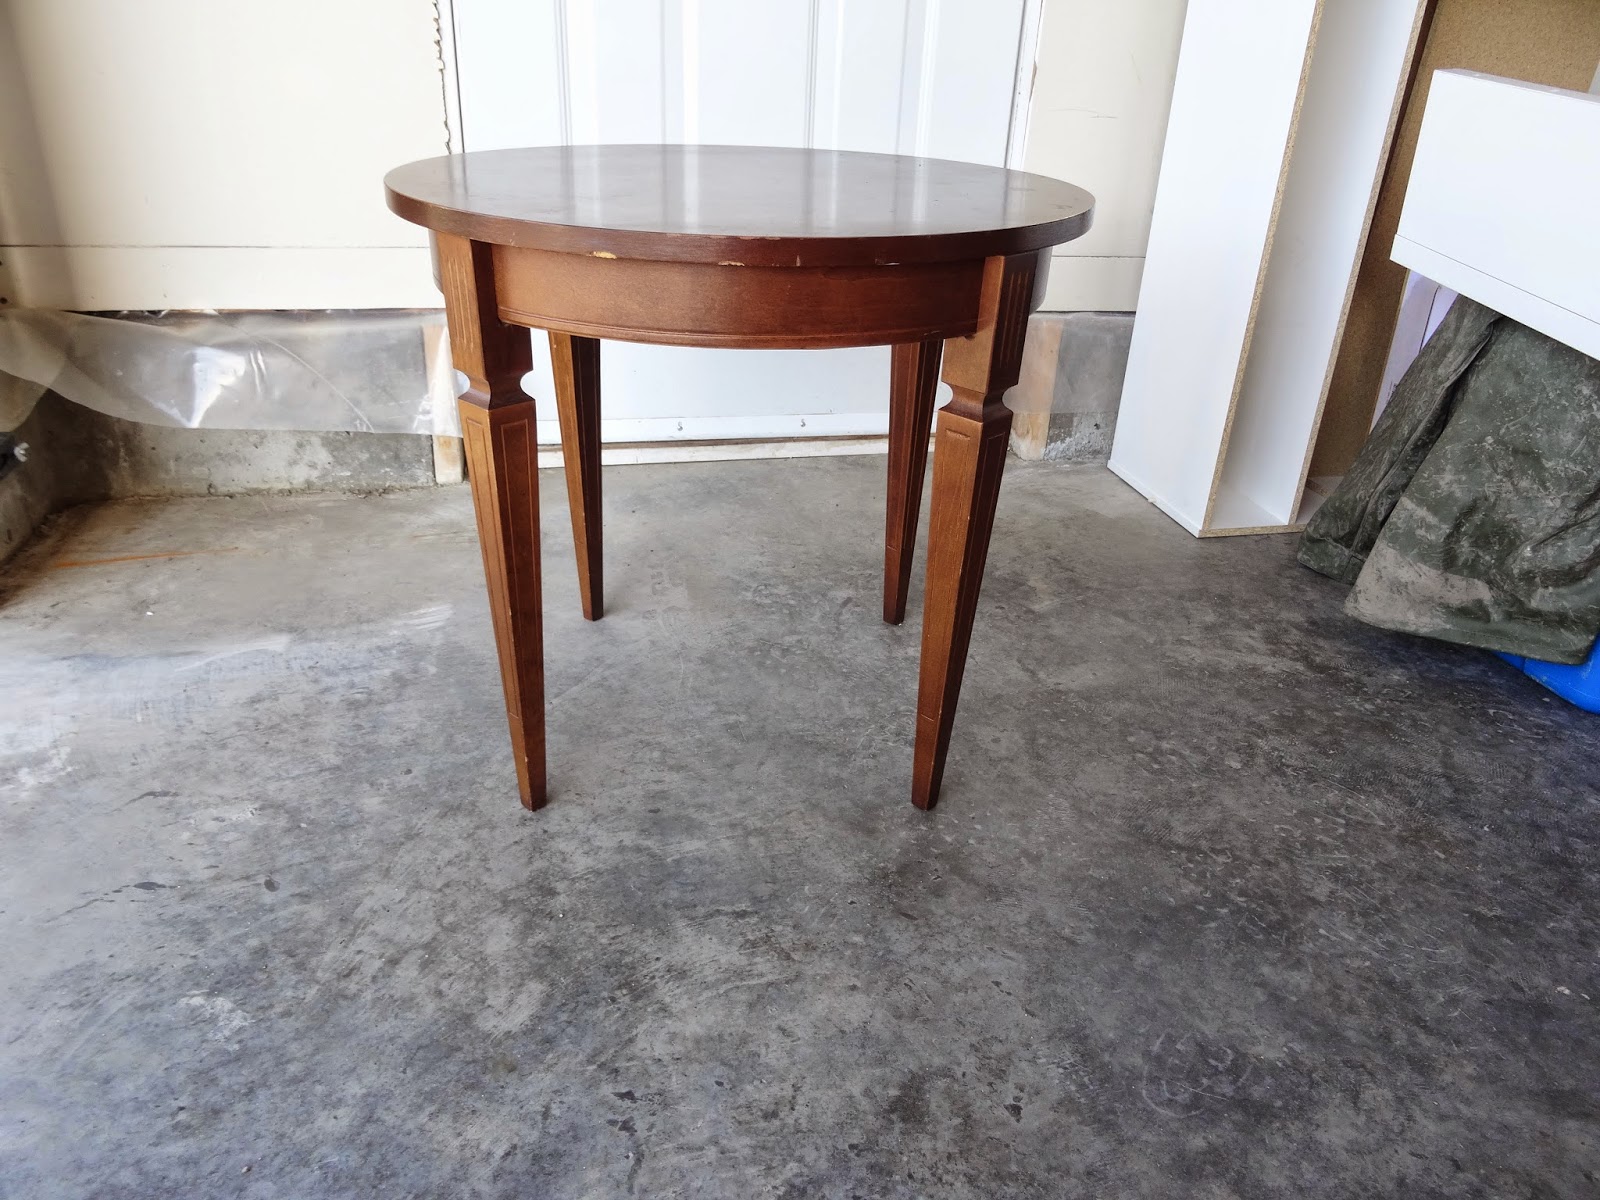
table: $5.00 at a garage sale
paint: free - some extra lying around at my moms


Saturday, 14 June 2014

Rainy Day Projects

Today was a spectacular day. Nick went quadding with my Dad all day so I had the house to myself. Time to get some projects done!!! I didn't put a lick of make up on, ate whatever I wanted and stayed in my pyjamas all day. One word. Glorious. I pretty well worked my butt off all day and all night right up until midnight. A few finished today and a couple more are half-way there! Here are my rainy day successes

Success #1 - Garage Sale
It's no surprise I love summer. Who doesn't?? But mostly because of one thing. Garage sale season. Just thinking about it brings me to my happy place. Today was so rainy and gloomy I didn't think it was worth hunting for the morning, so I slept in instead. As I was driving home from my mom's in the afternoon I noticed a garage sale on the corner, and because I have no will power I thought, "hey what the heck, I will check out one today". And I'm so glad I did because I found the ONE thing I wanted to find this summer. I got 3 rounded wooden dining room chairs last summer for $9, and they are my favourite! But I only got 3 so I have been using 3 chairs from another set. BOOO they don't match! So
I was on the hunt for 3 more of the same kind.... hehe. I got these 3 for $8. My set is now complete.


I would like to paint them a fun colour eventually. Love. Love. Love.

6 Chairs ---> $17, garage sale
Table ---> Free, hand-me-down from my parents
Lace Tablecloth ---> Free, garage sale

Success #2 - Ikea Magic
We live in a basement suite and sometimes it is PAINFUL trying to find space for everything. Especially all my decorations and crafting supplies... haha. I finally had enough time to hit up IKEA with a few hours to peruse. I could not believe all the treasures I found. I have this little corner beside my piano I have been hoarding all my music. I have been wracking my brain and searching pinterest for ways to store music but came up empty handed.


I bought the KASSET boxes at Ikea ($6.99 for 2 pack) in this cute green colour to match my decor. I organized it by LDS, Choir, Christmas, Piano music and voila! They fit PERFECTLY and look way nicer. I could even put a little vase on there like an end table or something.


Success #3 - More Ikea Magic
The basement suite problem again. We just don't have enough room!!! It drives me crazy. I dejunk and then somehow we accumulate more STUFF and it ends up in this hallway at the back of our suite. We also have this giant closet that would be great for storing things, but there are no shelves. It's just a giant deep closet that is full of crap. Have you ever seen that Friends episode where Monica has a secret closet full of junk and Chandler never knew about it? Ya. It's bad. Our upstairs tenants just moved out so we are taking possession of the garage (totally not worth renting it out p.s.) and I decided to pack stuff up and haul it out there! I also thought I would surprise Nick by transforming this using some Ikea magic. It's almost embarrassing showing these pictures, but it's important to show how much friggin work this was!! haha

BEFORE


AFTER


Used some extra tupperware containers for recycling bins

The Ikea SORTERA bins are perfection. You can access anything inside the bin without unstacking them because the lids lift up. I used 4 large ones ($12.99 each) and 4 small ones ($9.99 each). Grandpa Pierson would be proud to see all my beautiful labelling. 


This will be my seasonal bin. I keep all the sunscreen, beach towels, gardening tools etc in here

 Perfect place to put the millions of gift bags and tissue paper we got from our wedding. I reuse those bad boys all the time. 

 Does anyone else have a present box? This is something I got from my mom. When I find things on sale I buy them and keep them in the present box for people's birthdays, christmas, baby showers, weddings, etc. Saves times and money for sure!


Hope you guys had an awesome rainy Saturday too!!